Creating a Report
To create a new report:
![]() Open the Analysis Project
Open the Analysis Project
Open the analysis project that you want the report based on.
![]() Select the New Report Command
Select the New Report Command
You can create a report from the Home Screen or from Report Mode.
![]() From the Home Screen
From the Home Screen
Under the Reports header, select Start a new report. On the right side of the screen, select New report.
![]() From Report Mode
From Report Mode
Click on the New Button in the Desktop Toolbar, or select Report | New | Report.
If an existing report is open, you will be prompted to save it. Select Yes to save the file and No to discard any changes. When the prompt closes, the New Report Dialog Box will appear.
![]() Select the Template
Select the Template
The New Report Dialog Box lists the report templates found in the root folder and the default report templates folder. Click on the template that you want to use, then click on the OK button in the low right corner of the New Report Dialog Box. The dialog box will close.
Browsing for a Template
If the template you want to use isn't listed in the New Report Dialog Box, click on the Browse button. When you select a template using the Browse feature, the New Report Dialog Box closes automatically.
![]() Save the New File
Save the New File
A standard Save As dialog box will appear. Use the dialog box to assign a filename to the new report. You set the default folder for reports in the Report Options.
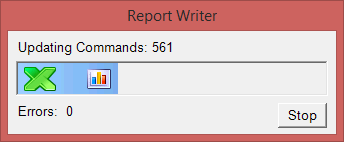
While the report is being generated you will see the following dialog box: